Creating and Editing Products
1. Login to the Administration Dashboard.
2. Go to Products → Products Being Sold.
3. Click the Add Product button (looks like a plus sign) near the top right of the screen.
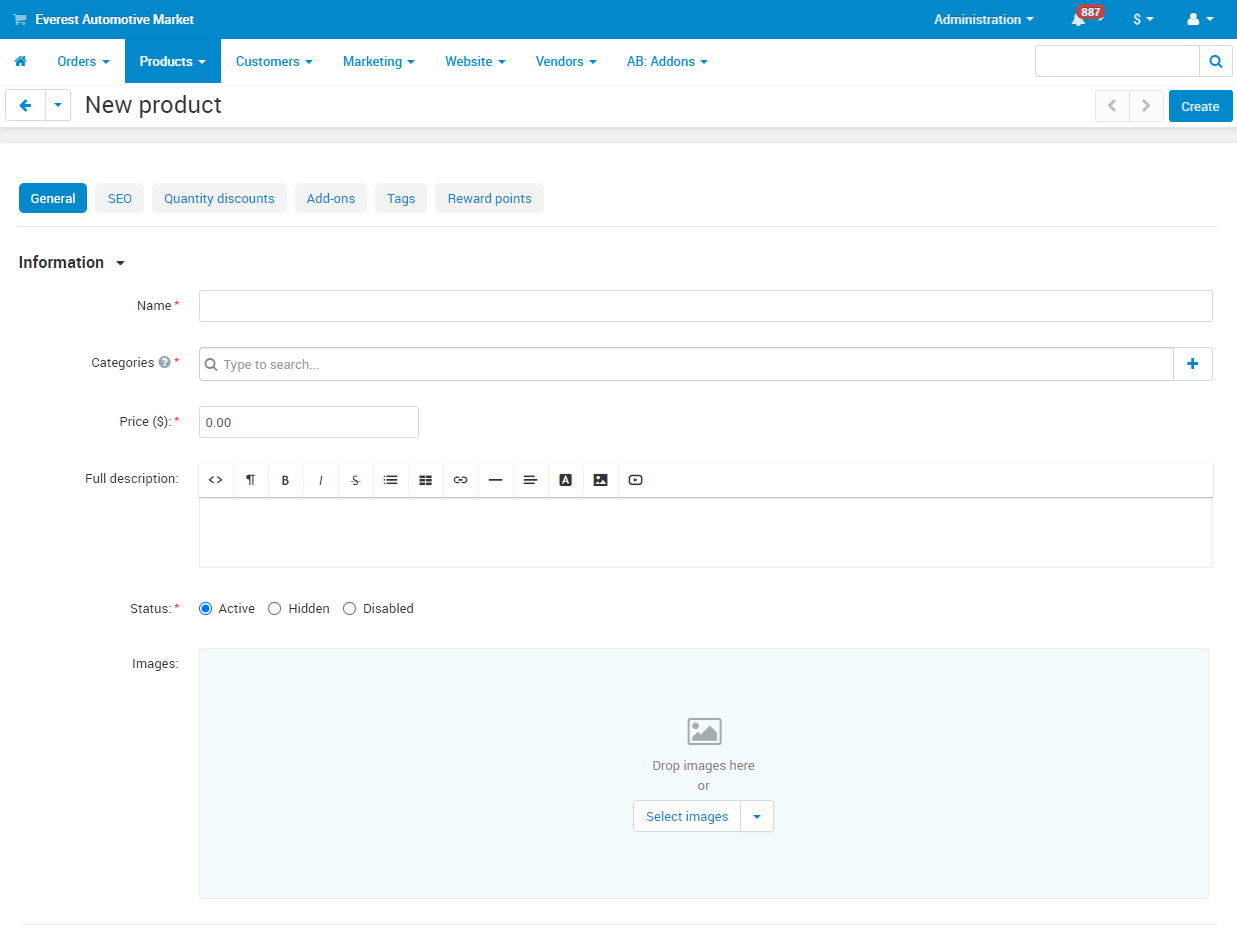
4. Enter the name of the product.
5. Select categories for your product. The first category will be the product's primary category. All subsequent categories are the product's secondary categories. If you need categories added, please contact us.
6. Enter a long description of your product.
7. Select an image or multiple images of your product.
8. Underneath the image selection section, you should also fill in the PRODUCT CODE and number In Stock.
9. You can also opt to add a short description and some search words (separated by comma) in the Extra section near the bottom of the page.
10. Click the Create button. That's it. You have created your listing. To preview your product listing, click the Gear button and click Preview.
11. Once you create a product, new tabs will appear. These tabs include Shipping Properties and Features.
- You will use the Shipping Properties tab to enter the weight of your product, which is necessary to calculate estimated shipping rates.
- You will use the Features tab to enter other information about your product such as SKU, MPN, UPC, etc. Currently, you can only add Manufacturer attributes that we have in our system. If you are trying to add a Manufacturer that is not in our system yet, please contact us.
Full step-by-step tutorials:
No posts found
Write a Review