Editing Company Description & Logo
Editing Your Company's Description
1. Sign into your Vendor Administration Dashboard.
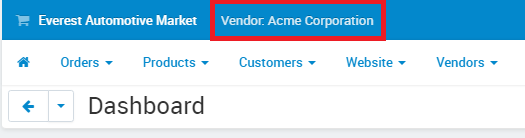
2. Click Vendor: [Your Company] near the top left of your administration dashboard to go to the Editing Vendor page.
3. The company editing page will open. Click the Description button to switch to the description tab. Here you can edit the description of your company. Your description will show on your vendor store page.
4. Click the Save button in the upper right part of the page.
That's it. You are done editing your company's description.
Adding Your Company Logo for Website and Invoices
1. Click Vendor: [Your Company] near the top left of your administration dashboard to go to the Editing Vendor page.
2. Click the Logos button to switch to the logo editing tab.
2. Upload your company logos for both the customer area (website) and for invoices. You can upload the files for your logo from:
- Local: a file on your computer
- Server: a file you previously uploaded to our servers under the Administration → Files
- URL: a hosted link where the image currently exists on the internet.
Note: We recommend high resolution images. You should have a minimum width of 280 pixels for the website and 160 pixels for invoices with a minimum height of 50 pixels for both.
Full step-by-step tutorials: