- Home
- Custom Auto Paint
- Industrial Paint
- Peelable Paint
- Abrasives
- Adhesives, Coatings and Sealers
- Aerosols
- Body Repair Materials
- Coatings & Paint Systems
- Detailing
- Equipment
- Masking Products
- Mechanical & Electrical
- Safety Products
- Shop Products
- Solvents, Reducers & Thinners
- Spray Equipment
- Tools
- Truck Bed Liners & Accessories
How to Paint a Car with Polyurethane Basecoat Paint: A Step-by-Step Guide

Introduction
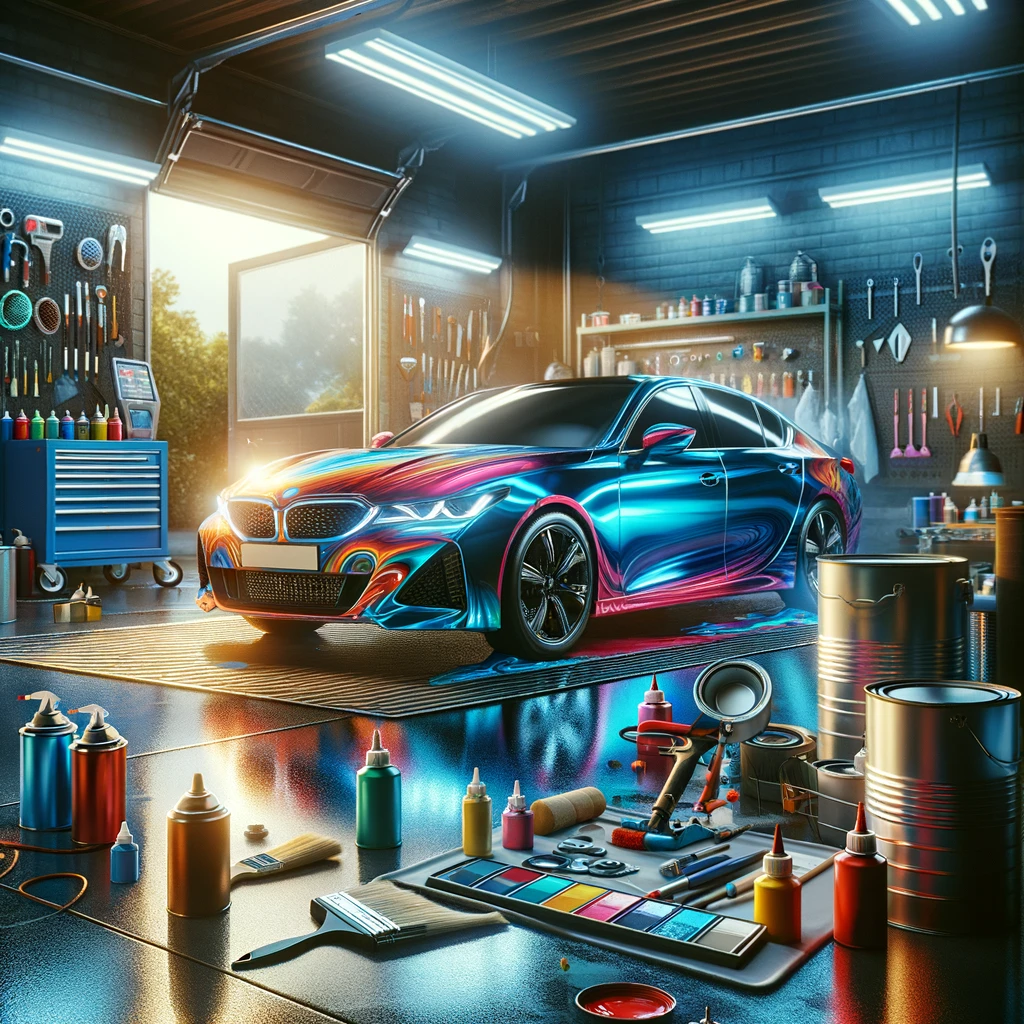
Painting a car requires a meticulous blend of precision, patience, and the right materials. This guide walks you through the application of both two-stage and single-stage polyurethane paint systems, as well as introduces the advanced tricoat system. Tricoat systems add depth and vibrancy with a mid-coat layer between the base and clear coats, creating unique, eye-catching finishes. Whether you're aiming for a vibrant, durable finish with polyurethane or the added depth of a tricoat system, this guide ensures you achieve professional-quality results on your automotive painting project.
Preparation: The Foundation of a Flawless Finish
Cleaning
Begin by washing the car with soap and water to remove dirt, grease, and contaminants. A wax and grease remover ensures the surface is perfectly clean and ready for painting.
Sanding
Sand the car's surface with 320 to 400-grit sandpaper to remove old paint and create a smooth base for proper paint adhesion and a flawless finish.
Repairing
Fix any dents, scratches, or rust with body filler and sand the repaired areas until smooth for a uniform surface.
Priming
Apply a high-quality automotive primer to the entire car. Primer enhances paint adhesion and increases durability. After drying, lightly sand with 600-grit sandpaper.
Masking
Mask off areas not to be painted, like windows, mirrors, and trim, using masking tape and paper to prevent overspray and ensure clean lines.
Painting: The Art of Application
Applying the Basecoat (Two-Stage and Tricoat Systems)
For two-stage and tricoat systems, begin with the basecoat. Apply it in even, light coats using a HVLP spray gun, maintaining consistent distance and speed to avoid runs. Typically, two to four coats are needed, with 10-15 minutes of flash-off time between coats.
Applying the Mid-Coat (Tricoat Systems Only)
After the basecoat, apply the mid-coat in tricoat systems. This layer often contains pearls or metallic flakes, adding depth and complexity to the color. Apply it thinly and evenly, allowing each coat to dry as per the manufacturer's recommendations.
Single-Stage Polyurethane Paint
For single-stage polyurethane paint, where color and protection are combined, apply the paint in thin, even coats, adhering to drying times recommended by the manufacturer.
Checking for Uniformity
After the final coat, inspect for uniformity. Use a tack cloth to remove dust or particles, ensuring a clean surface for the next steps.
Finishing: Achieving the Perfect Gloss
Applying the Clear Coat (Two-Stage and Tricoat Systems)
Apply the clear coat over the basecoat (and mid-coat in tricoat systems) to achieve a deep gloss and additional protection. Apply two to three coats, allowing proper drying time as recommended.
Single-stage polyurethane paint does not require this step, as the protective gloss is included in the paint application.
Curing
Allow the paint (and clear coat, if applicable) to fully cure. Curing times vary based on products and conditions, from 24 hours to several days.
Buffing
Buff the fully cured paint with a polishing compound to achieve a high-gloss finish. Use a variable speed buffer and fine polish for a showroom-quality shine.
Reassembly and Final Touches
Remove masking materials, reattach removed parts or trim, and conduct a final inspection to ensure high standards.
Conclusion
Painting a car with polyurethane paint, whether using a two-stage, single-stage, or advanced tricoat system, is a rewarding endeavor leading to a stunning, durable finish. Each step, from preparation to finishing, is crucial for achieving a professional-quality outcome. This guide empowers even beginners to tackle a car painting project with confidence, ensuring their vehicle not only looks fantastic but is also protected for years. Patience, attention to detail, and high-quality materials are key to a successful paint job. Happy painting!
Recent posts
- Understanding 1K and Two-Stage Paint Systems in Automotive Refinishing
- Troubleshooting Guide for Polyurethane Automotive Paint Issues
- Clarity Coat AutoFlex Peelable Paint Guide: Revolutionize Your Vehicle’s Look & Protection
- Mastering Automotive Paint: The Science of Mixing & Matching Colors
- Exploring RAL Paints: Precision, Durability, and Color Science
- Navigating the Federal Standard Color System: A Comprehensive Analysis
- Why Polyurethane-Based Automotive Paint is the Superior Choice
- How to Paint a Car with Polyurethane Basecoat Paint: A Step-by-Step Guide
- Editing Company Description & Logo
- Creating/Linking Stripe Account
- Linking PayPal Account
- Selecting Products to Sell
- Creating Products to Sell
- Configuring a UPS Shipping Method
- Configuring a FedEx Shipping Method
- Setting Free Shipping on Products
- Completing Order & Messaging Customers
- Creating Promotions
